
This is Part 2 of our m-TDI motor swap, Part 1 can be found here. For those who would like to refer to this post as a resource for your own build, be sure to click on all the photos as additional information is contained within individual captions. Anything we've done that you try to repeat you are doing so at your own risk (good luck!).
This was an enormous, exhausting, exhilarating, adventurous and at times painful project. More than anything it was an absolute blast, and Jacqui and I know the tight deadline we set for ourselves added to the chaos. We arrived at the DIY auto shop with a van full of parts and spent eight days, nine Uber (cab) rides, a dozen runs to part stores, two last minute internet orders and countless task repetitions to complete our swap.
I lost count of how many parts had to be removed and reinstalled 3, 4 or even 5 times until they fit just right or how many smooth sailing projects came to a sudden halt until we procured the correct fastener, hose or coupling. If we had to do this project all over again, with all we've learned, we could certainly cut the time in half.
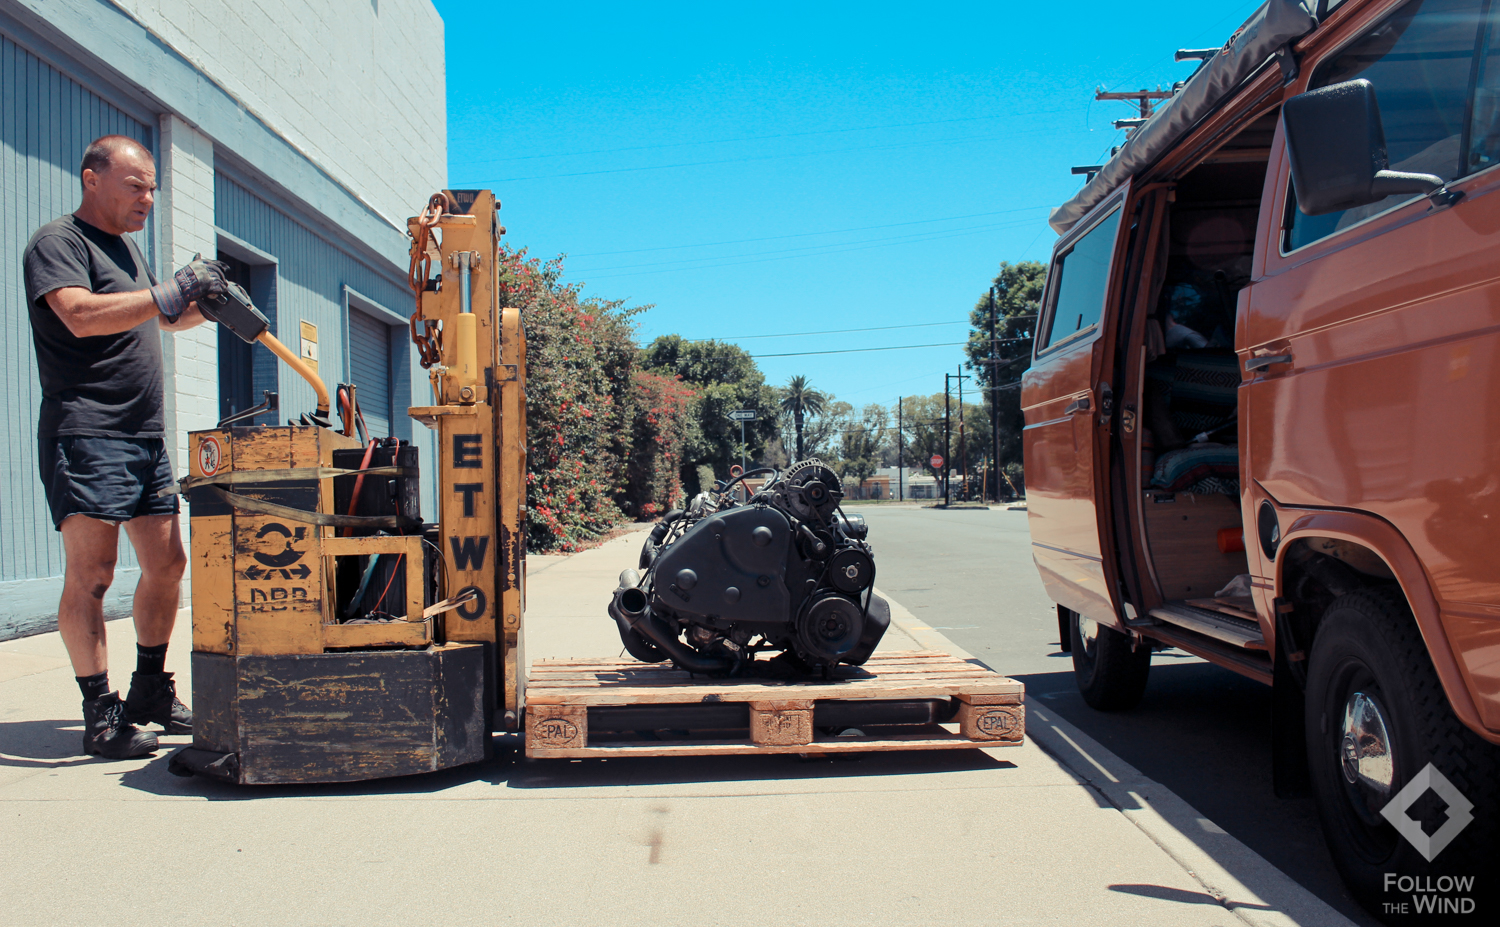
The afternoon we picked up our motor from Quality German also marked the day we started at Your Dream Garage. We were eager to get this project underway and needed to be smart, organized and decisive to finish in a timely manner. After nine weeks of ordering everything my brain could anticipate we’d need, we were now on the clock at the DIY garage and paying nights at the hotel across the street. Time was now money and it was time to hustle.
With the help of many donor parts from the very rare 1982 Diesel Vanagon, there were many bolt on/ready parts which dramatically cut down on time that otherwise would be dedicated to fabrication. VW never intended for this engine to be in a Vanagon so a huge amount of tinkering, creativity, trial and error are required to bring it all together.
When all was said and done we got a brief taste of this engine's capabilities and clocked 28.25mpg by the first fill-up. This was right before, by no fault of our own, the engine nearly destroyed itself. If you want to hear that story, you’ll have to tune in for the dramatic finale to our 3 part motor swap saga.
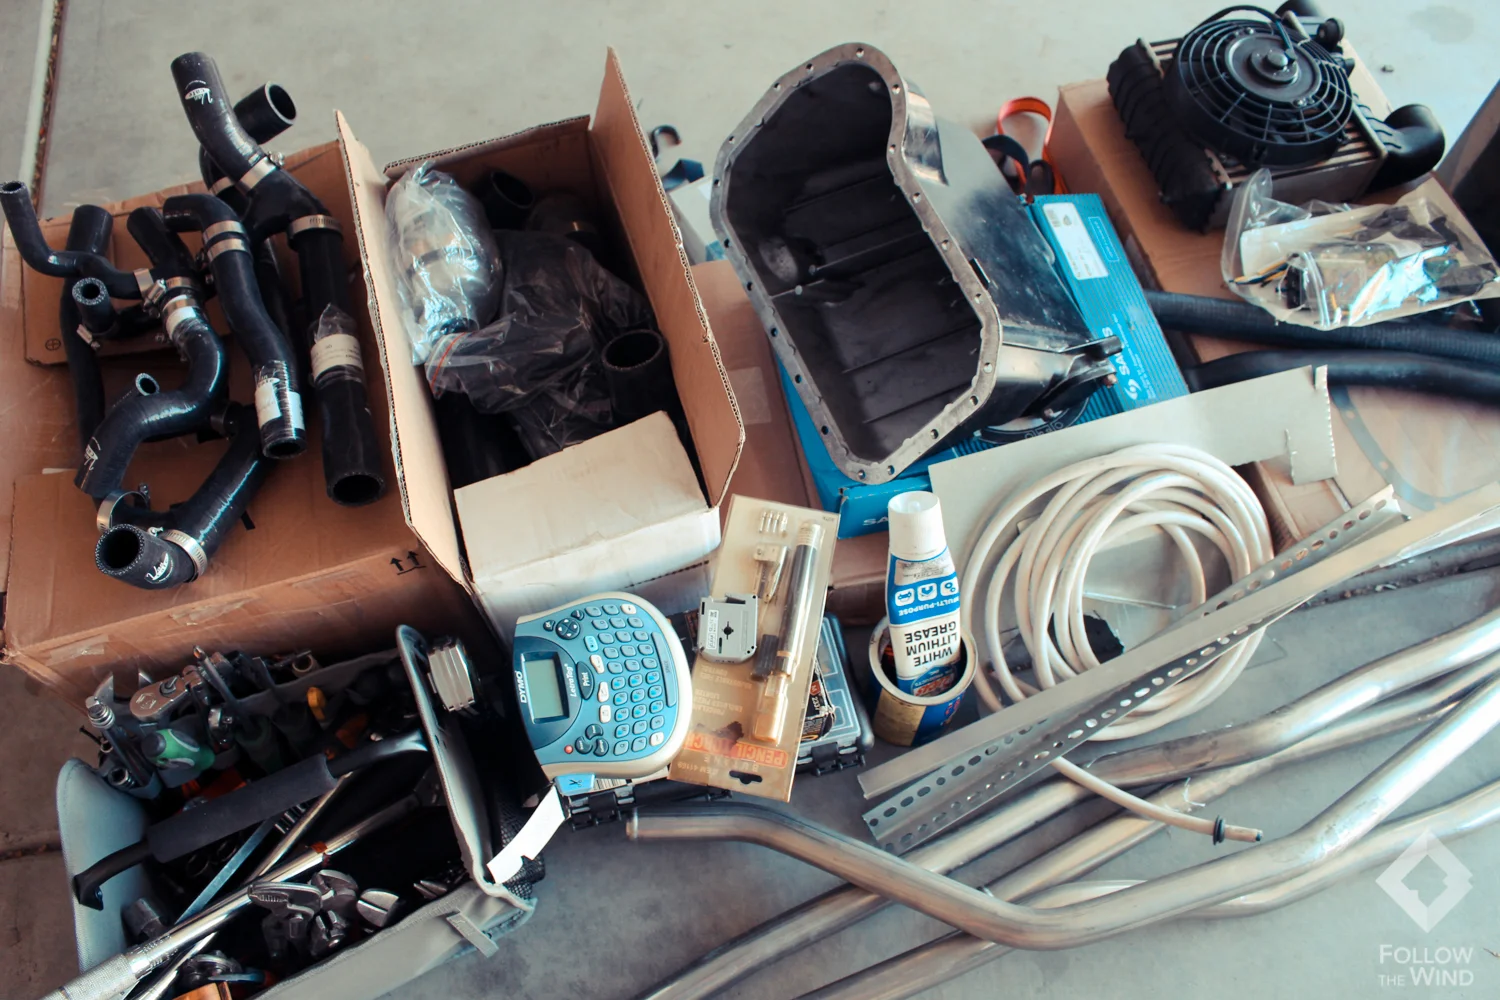
The first afternoon our task was to prepare the new engine with any accessories required to fit it in our engine bay. More importantly it was our last opportunity to develop a shopping list as Penny was going on the lift in the morning and we'd have to rely on Uber from then on out.
Preparing the engine
Originally our engine came from a sedan and had been computer controlled. Our task was to make it fit in a van, run without electronics (Quality German took care of building the mechanical injection pump) and lay the motor on it’s side to fit inside an engine compartment that was designed for a pancake engine.
Shopping list:
- DV (Diesel Vanagon) oil pan
- DV oil pickup
- DV dipstick with tube
- DV carrier bars (<1982 for air-cooled transmission, 1983+ for waterboxer)
- DV passenger-side engine mount
- Custom driver’s side engine mount
- DV flywheel + clutch
- DV lower water pump outlet
- DV crankshaft needle bearing
We prepped the engine with a Lego-style approach. If you obtain all the Diesel Vanagon parts it significantly decreases the number of items you need to fabricate and VW was nice enough to make everything bolt together with simplicity. Since our motor was built by Quality German to operate without electronics, all the various wires and sensors needed to be stripped off with an exception for the glow plug harness. Fully prepped, there should be two wires to the alternator, one wire to the pump, and two wires for the glow plugs but we're still a long way from needing to worry about that.
The motor delivered on the pallet: it still has original wiring attached from when it was computer controlled, an oil pan for upright-mounting and a clutch/flywheel that won't work with our transmission. Many items to strip off for the Vanagon conversion.
Click on each photo for more detail.


Front to Back
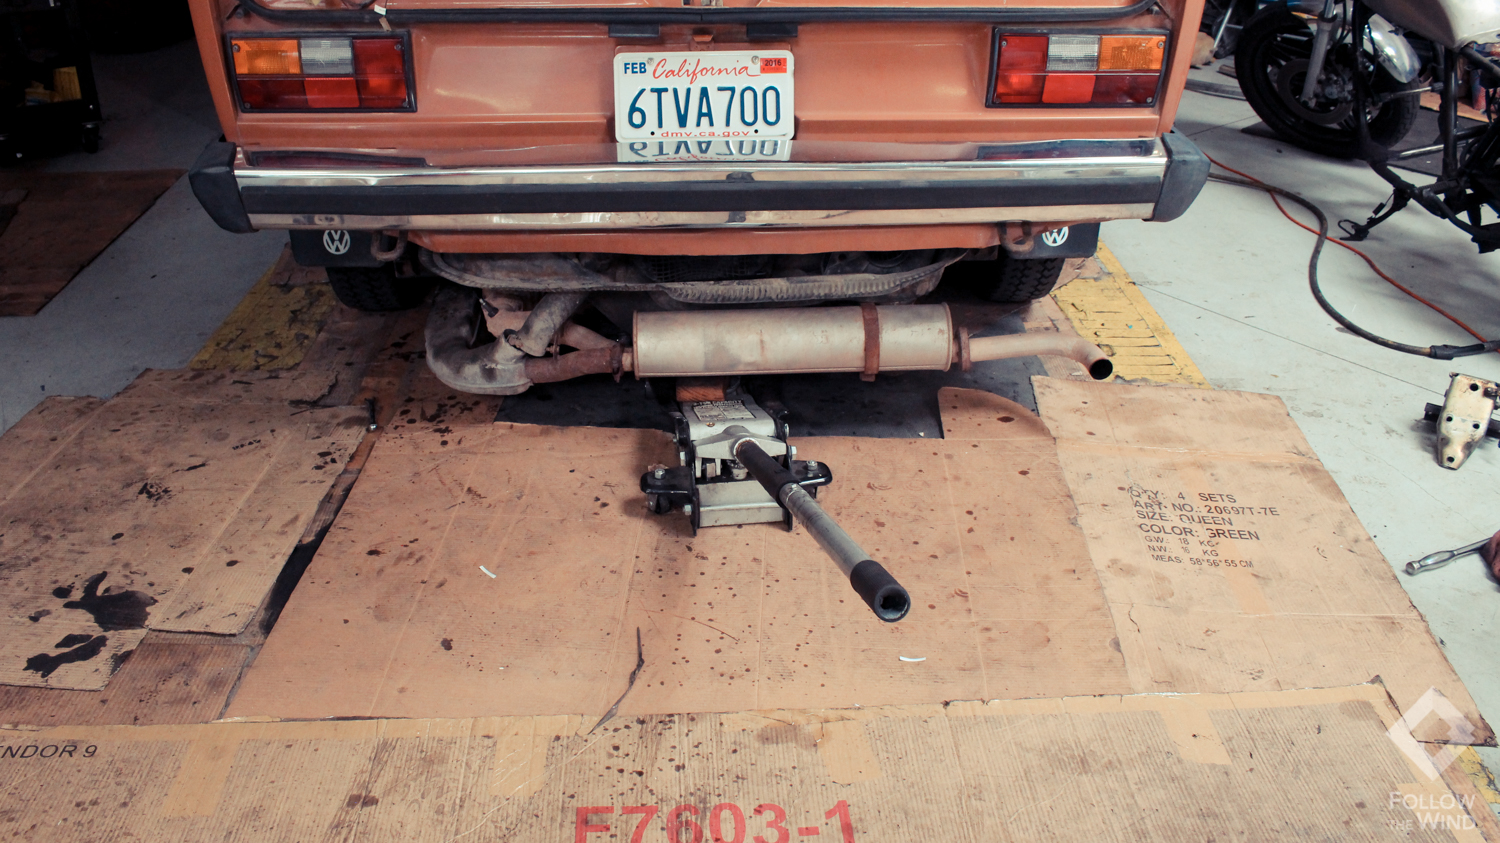
Finally we were ready to bring the van into the shop. Once in, the PennyWagon wasn't leaving until she was diesel powered. So off we went stringing all the various systems that travel the 15ft from the front to the back of the van. This included coolant lines for the radiator, heater hoses, a new Diesel Vanagon throttle cable and a wire loom to keep all the new accessory wiring consolidated and weather proof.
Shopping list:
- Pre-fabricated coolant lines**
- Minimum 30ft 5/8" heater hose
- 18ft wire loom (recommend at least 5 wires in loom)
- DV throttle cable
**About the pre-fabricated coolant lines, of which there are many options, I made a mistake and purchase 1986+ lines from BusDepot.com. I discovered one of the lines is shorter than the other and ends IN FRONT of the passenger axle. I've now learned Rocky Mountain Westy makes stainless steel coolant lines that are specific for TDI conversions. This would have saved me numerous trips to stores trying to find a way to close the 1.5ft gap between the SS lines and engine. If you have 1986+ coolant lines, I recommend finding a 1.5" coupler and walking up and down the radiator hose isle in the local auto parts store until you find something S-shaped.
The air-cooled Vanagon surprised me with the fact this whole procedure required absolutely no cutting. Granted it took us forever to determine how everything wanted to squeeze together, but nonetheless it all came out beautifully. The gas tank had to be drained in preparation to receive diesel and had to be removed in order to gut the air-cooled heater system. I kept my new 5-wire marine loom inline with the factory wiring. This will allow me to hook up gauges, switches and other accessories without having to run a new wire each time.


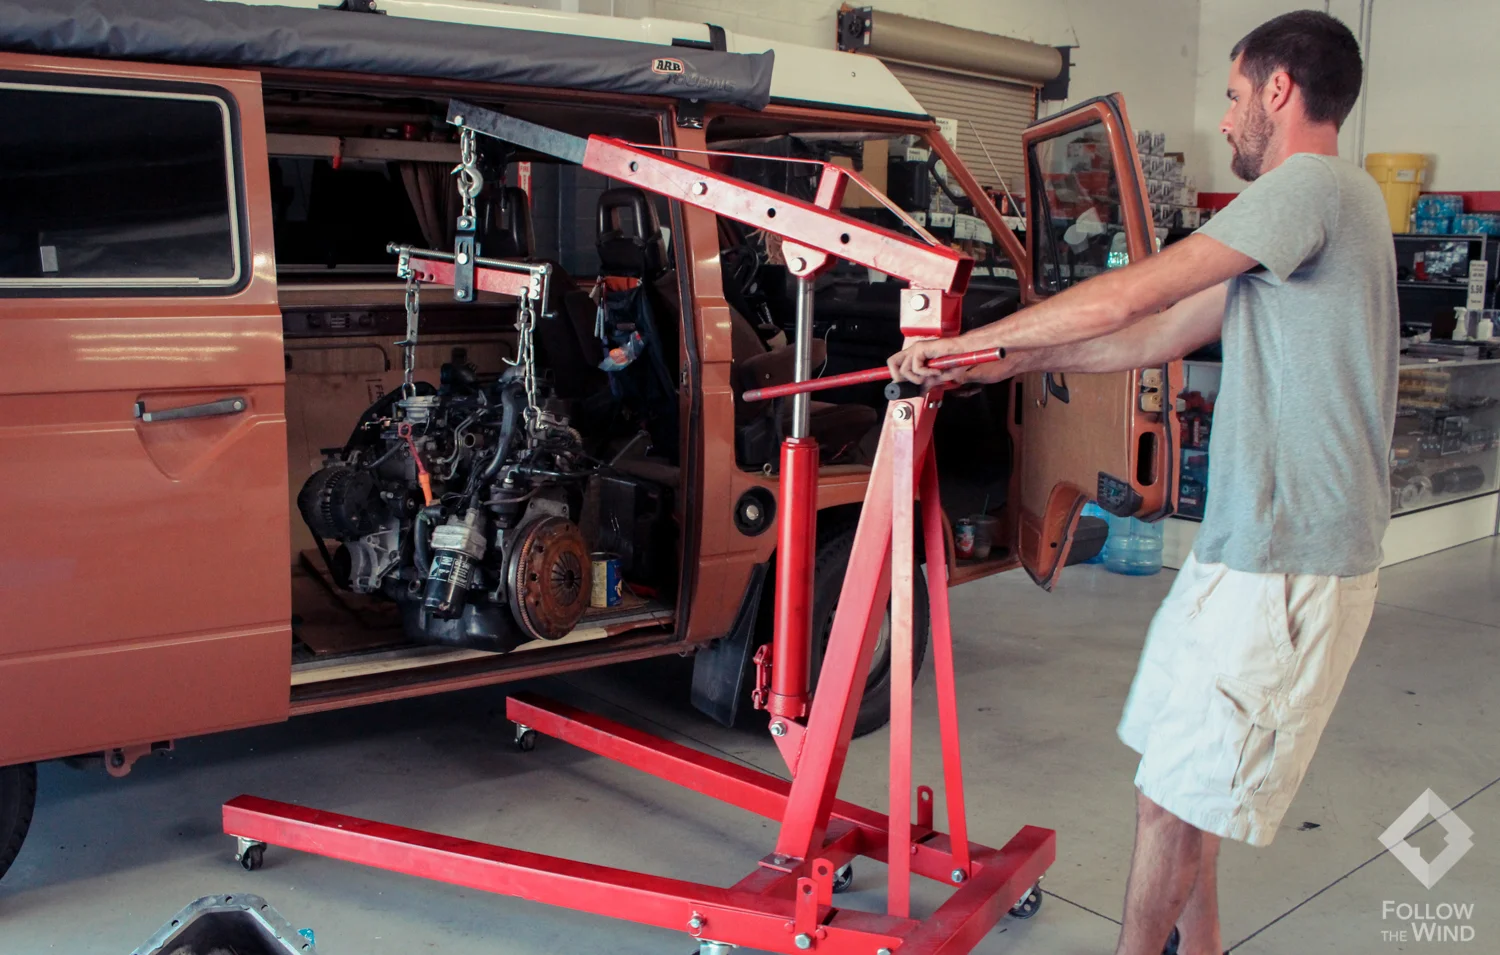
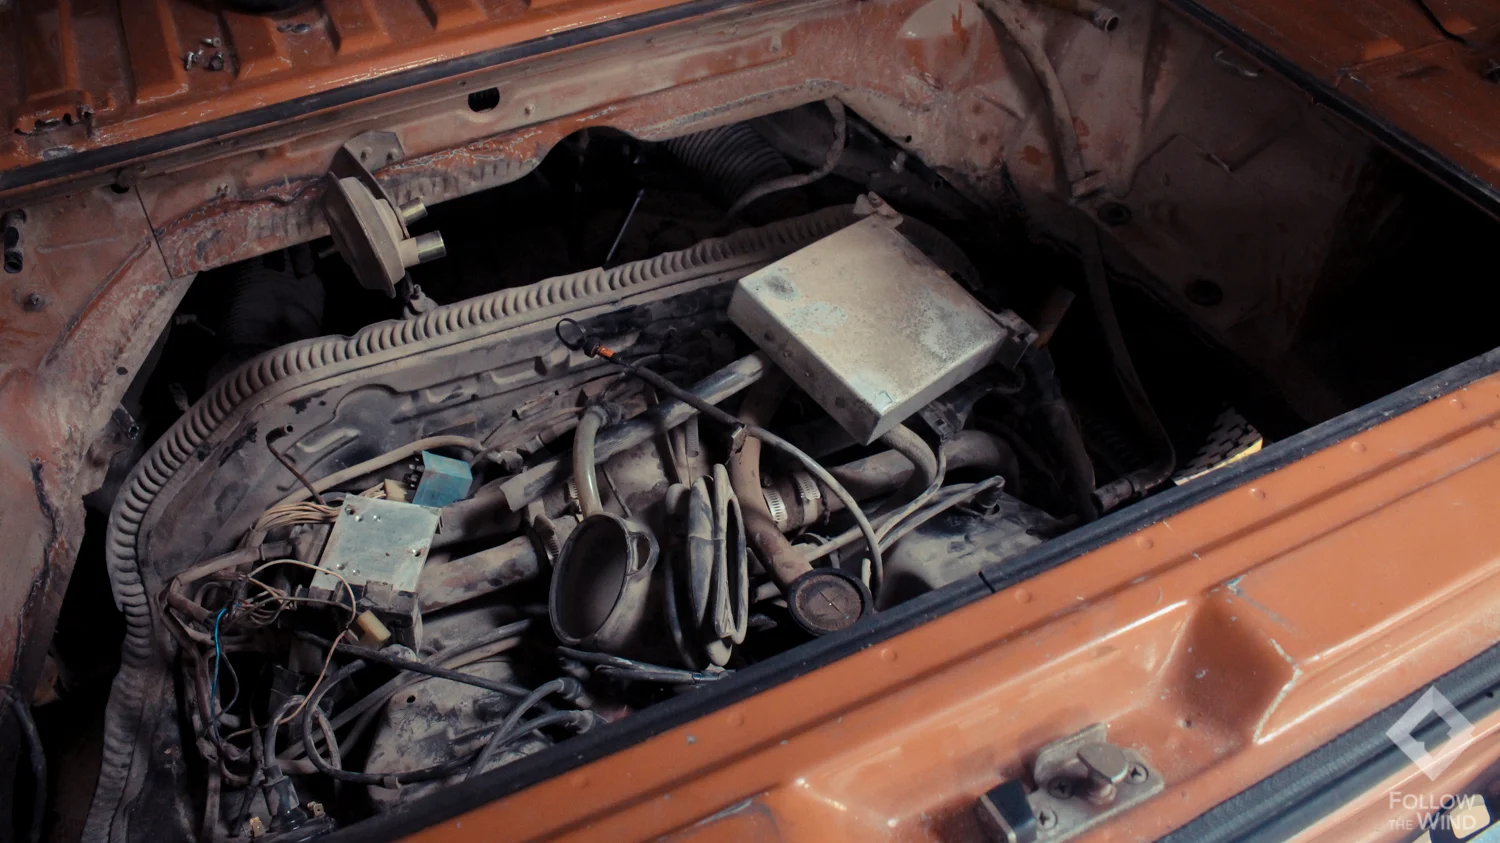
Gutting the Van
Time to commit. Engine, transmission, electronics, motor mounts, air ducting, grime, dust...everything goes. Only the transmission (with a different bell-housing) and two under-hood wires (alternator light wire and ignition coil power wire) are being reused. While we were in there we cleaned and re-insulated above the transmission area to help the external oil-cooler breathe a bit better.
Luckily we even managed to find an awesome buyer for our old engine!
Shopping list:
- Tenacity!


Transmission
We reused the original air-cooled transmission. Ideally we'd send out our transmission to have a couple gears changed to lower highway rpm's but for now, we'll live with the way it is. There are a couple modifications to make it fit with the diesel motor. Namely you need the bell housing and input shaft from a Diesel Vanagon. I ended up using our original input shaft and cut about a half inch from the end. Since I couldn't figure out how on earth to get that shaft out of the transmission, I just cut it while still installed. Whatever it takes, right?! This transmission project took unnecessarily long because I didn't know the bolts that held the air-cooled engine to the transmission were different than what I'd need for the TDI to bolt to the transmission. We wasted hours taking Ubers around searching for the right bolts. So to save you that trouble, make sure you have the original bolts to hold the engine to the transmission.
Shopping list:
- DV bell housing
- DV input shaft (or cut about 1/2" off the end of the current shaft)
- DV starter
- Bell housing gasket
- Input shaft seal
- All engine-to-transmission bolts!


Getting the motor to fit!
This was the most shockingly time consuming parts of the project. Originally I was under the impression from talking to a few people I could simply trim the driver's side DV engine mount, hire a welder to reinforce it, then install. Sounds terribly simple right?
By the time I cut up the original mount enough to clear the turbo, it became obvious there wasn't anything left to reinforce. Eeek! Time is definitely money when you're renting a lift and now we were dead in the water until we sorted this hurdle out. On top of that, the fabrication shop that was going to reinforce my aluminum mount, refused to be involved in trying to make one from scratch. Apparently they didn't want the liability.
Jacqui and I took a long Uber ride out to Thomas at Quality German to pick up a few more parts and ask if he could suggest a fabricator. Awesome luck for us, Thomas had a mostly-finished prototype mount designed for a very similar engine to ours. It wasn't a perfect fit, and it was a rough design, but it would at least provide a foundation for me to weld onto instead of starting from scratch, which could easily eat a couple of days. Once completed, Jacqui and I agreed it's probably the ugliest and heaviest mount ever done in one of these conversions, but it's doing the job until we can make something prettier.
Regarding the passenger side mount. You do use the stock carrier bar and engine mount. However, to make the engine sit low enough to clear the deck lid, you will need to re-drill the hole in the carrier bar so the mount sits an inch or so lower.
Shopping list:
- DV carrier bars**
- Late style DV rubber motor mounts (if you want to use these mounts with early carrier bars, some drilling is required)
- Passenger side DV aluminum engine mount
- Driver side custom built mount (have fun with that project!)
**If you are using a watercooled vanagon transmission use the late style 1983+ diesel Vanagon carrier bars. If you are using the air-cooled or <1982 Diesel Vanagon transmission, you need the early style diesel carrier bars. I learned the hard way. Late model bars on early style transmissions don't fit in the engine bay. They are about an inch too short.


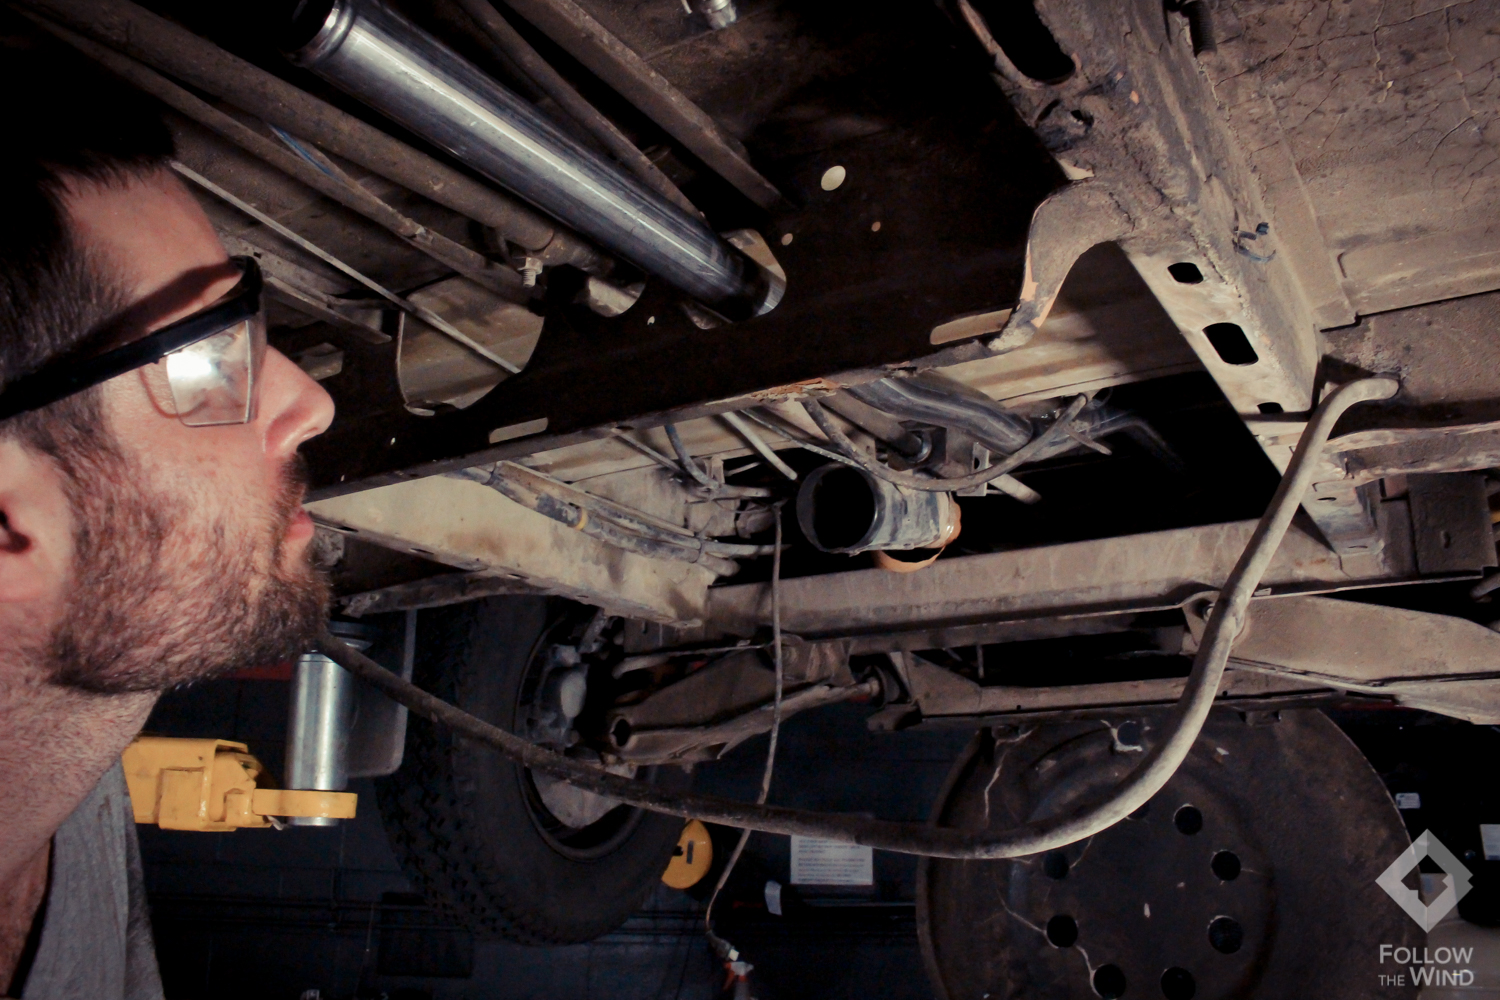
Under-the-hood cooling system
This section will definitely have a shopping list worth noting. We completed numerous parts store runs to get this one done. The coolant bottle bracket I made by welding and cutting angle iron to shape. I'm currently using the 1986+ coolant bottle with a Diesel Vanagon specific coolant hose kit (Van-cafe.com listed under Tiico conversion hose kit).
Shopping list:
- 2x 5/8'' straight couplers (for attaching under-hood hoses to the heater hoses)
- 1''-to-5/8'' reduction hose (outlet on cylinder head is 1'', heater hoses are 5/8''. You need to adapt the sizes, I found a silicone hose for this from HPS silicone).
- 1-1/2" straight coupler (If you're using 1986+ coolant lines this is to connect your under-hood hoses to the rubber hose running from the axle. If you're using 1983-1985 lines, or TDI swap specific ones, I don't believe you need this at all).
- DV coolant hose set (Van-cafe.com listed under Tiico conversion hose kit).
- Coolant bottle**
**If you use a Diesel Vanagon coolant bottle it will connect perfectly to the Diesel Vanagon hoses. I'm using the 1986+ coolant bottle so I had to modify the hose to the upper nipple. I used a 5/8'' to 3/4'' silicone adapter hose and a 3/4'' straight coupler that allowed me to tie this into the stock hoses. I plan on purchasing a brand-new coolant bottle very soon.


Turbo Piping
The intercooler/turbo piping was actually a lot of fun. I purchased a simple Ebay 2'' turbo piping kit to complete the main build, then had to source a bunch of custom sized hoses to fill in the blanks. Obviously this shopping list only applies to people who'd like to perfectly mimic my install. If you'd like to check out the intercooler install, head back to Motor Swap Part 1. This section only covers attaching the engine to the already installed intercooler.
Shopping list:
- Universal 2'' turbo piping kit (make sure it comes with at least two silicone 90 degree bends, an array of 45, 90 and straight aluminum pipes are also essential).
- 1-3/8" 45 degree silicone hose. Should be about 8'' in length. (I bought mine at HPS silicone)
- 1-3/8" Aluminum coupler. Roughly 3''.
- 2'' to 1-3/8" silicone reducer (to adapt the turbo outlet to fit your universal kit).
- 2-1/4" to 2" silicone reducers (you need two of them for adapting the Saab intercooler to the universal 2" piping kit).
There wasn't a great way to get in there and take photos of exactly how the hoses are run so I'll write it out as detailed as I can. Starting at the turbo outlet.
Turbo to intercooler (Intercooler inlet is closer to the taillight assembly).
The 8'' 45 degree 1-3/8" silicone hose attaches directly to the turbo. From that a 1-3/8" aluminum pipe attaches a 2" to 1-3/8" silicone reducer. Custom cut a 2" 90 degree aluminum pipe so that it sits directly in front of the input in the intercooler. Attatch the 90 degree pipe you just cut to the intercooler with a 2-1/4" to 2" silicone reducer.
Intercooler to Intake (Intercooler outlet is further from the taillight assembly).
Silicone 2-1/4'' to 2'' reducer attaches directly to intercooler outlet. Custom cut 2'' straight aluminum pipe and attach that to two 90 degree 2'' silicone hoses that have been combined with a 2" straight aluminum pipe creating a 180 degree bend. Then simply mount it to the intake.
As for the inlet from the air cleaner to the turbo, the plastic pipe that goes into the turbo requires a 2-3/4" hose. The turbo itself has a 1-3/8" fitting. You'll have to figure out for yourself how you want to handle connecting your air cleaner to your turbo, but at least you now know the sizes involved.
A pair of wire crimpers with a zip-tie make an excellent tool for putting a lip on the aluminum pipes. You definitely need this lip or the hoses will slip off during boost. And make sure you clean them up after cutting. You don't want any aluminum shavings to get sucked into the turbo or engine.


Wiring
I wish I took some fancy photos of the under-hood electrical (maybe later) but I'll try to let my words fill in the blanks. I kept everything stupid simple and as manual as possible. I have not yet finished all the electrical I'd like. Many gauges and accessories will be added in the near future (probably motor swap part 3), but for now I'll cover what operates our motor.
There are two wires left over from removing the air-cooled motor that will get reused. The ignition coil wire (good source of ignition positive) and the alternator light wire (for telling your new alternator to charge.)
Shopping list:
- 5x relays with connectors
- Fuse block
- Wiring/connectors
I simply have a fuse block with 10AWG wire getting power directly from the starter bolt. My intercooler fan, injection pump, and diesel lift pump are all powered by individual relays that are triggered by the ignition coil wire. On the opposite side of the fuse block I have two additional relays, with their own individually fused circuits, that give power to the glow plugs when I flip a switch on the dash (I just count to 5 then flip it off).
Very soon I'll be adding an RPM gauge, boost gauge, EGT gauge and oil temp gauge. But the above is more wiring than is actually necessary to start the motor.
Well, that covers getting the engine in the van! On the day we finally finished everything, we decided not to start the van. We decided it was better to take a shower, go out to dinner and put off the big key turning until the morning. So just like we waited, I'll make you wait until the next post for the first start-up, the trouble-shooting, the exhaust system and the drama that ensued 300 miles later.
To be continued...